5 Kitchen Tools Your Toddler Needs to Get Started
{DISCLOSURE: THIS POST CONTAINS AFFILIATE LINKS. THESE LINKS ARE AT NO EXTRA COST TO YOU. WHEN YOU USE THEM, I MAY RECEIVE A SMALL COMMISSION. THIS HELPS ME TO KEEP THIS BLOG UP AND RUNNING. THANK YOU FOR SUPPORTING MY WORK}
Are you ready to include your toddler in cooking activities? These five kitchen tools will help him to get started. These tools are child-sized, so your child can manipulate them easily. They will help your child develop fundamental skills such as spreading, mixing, chopping, and mashing. Before giving a new tool to your child, demonstrate how to use it first.
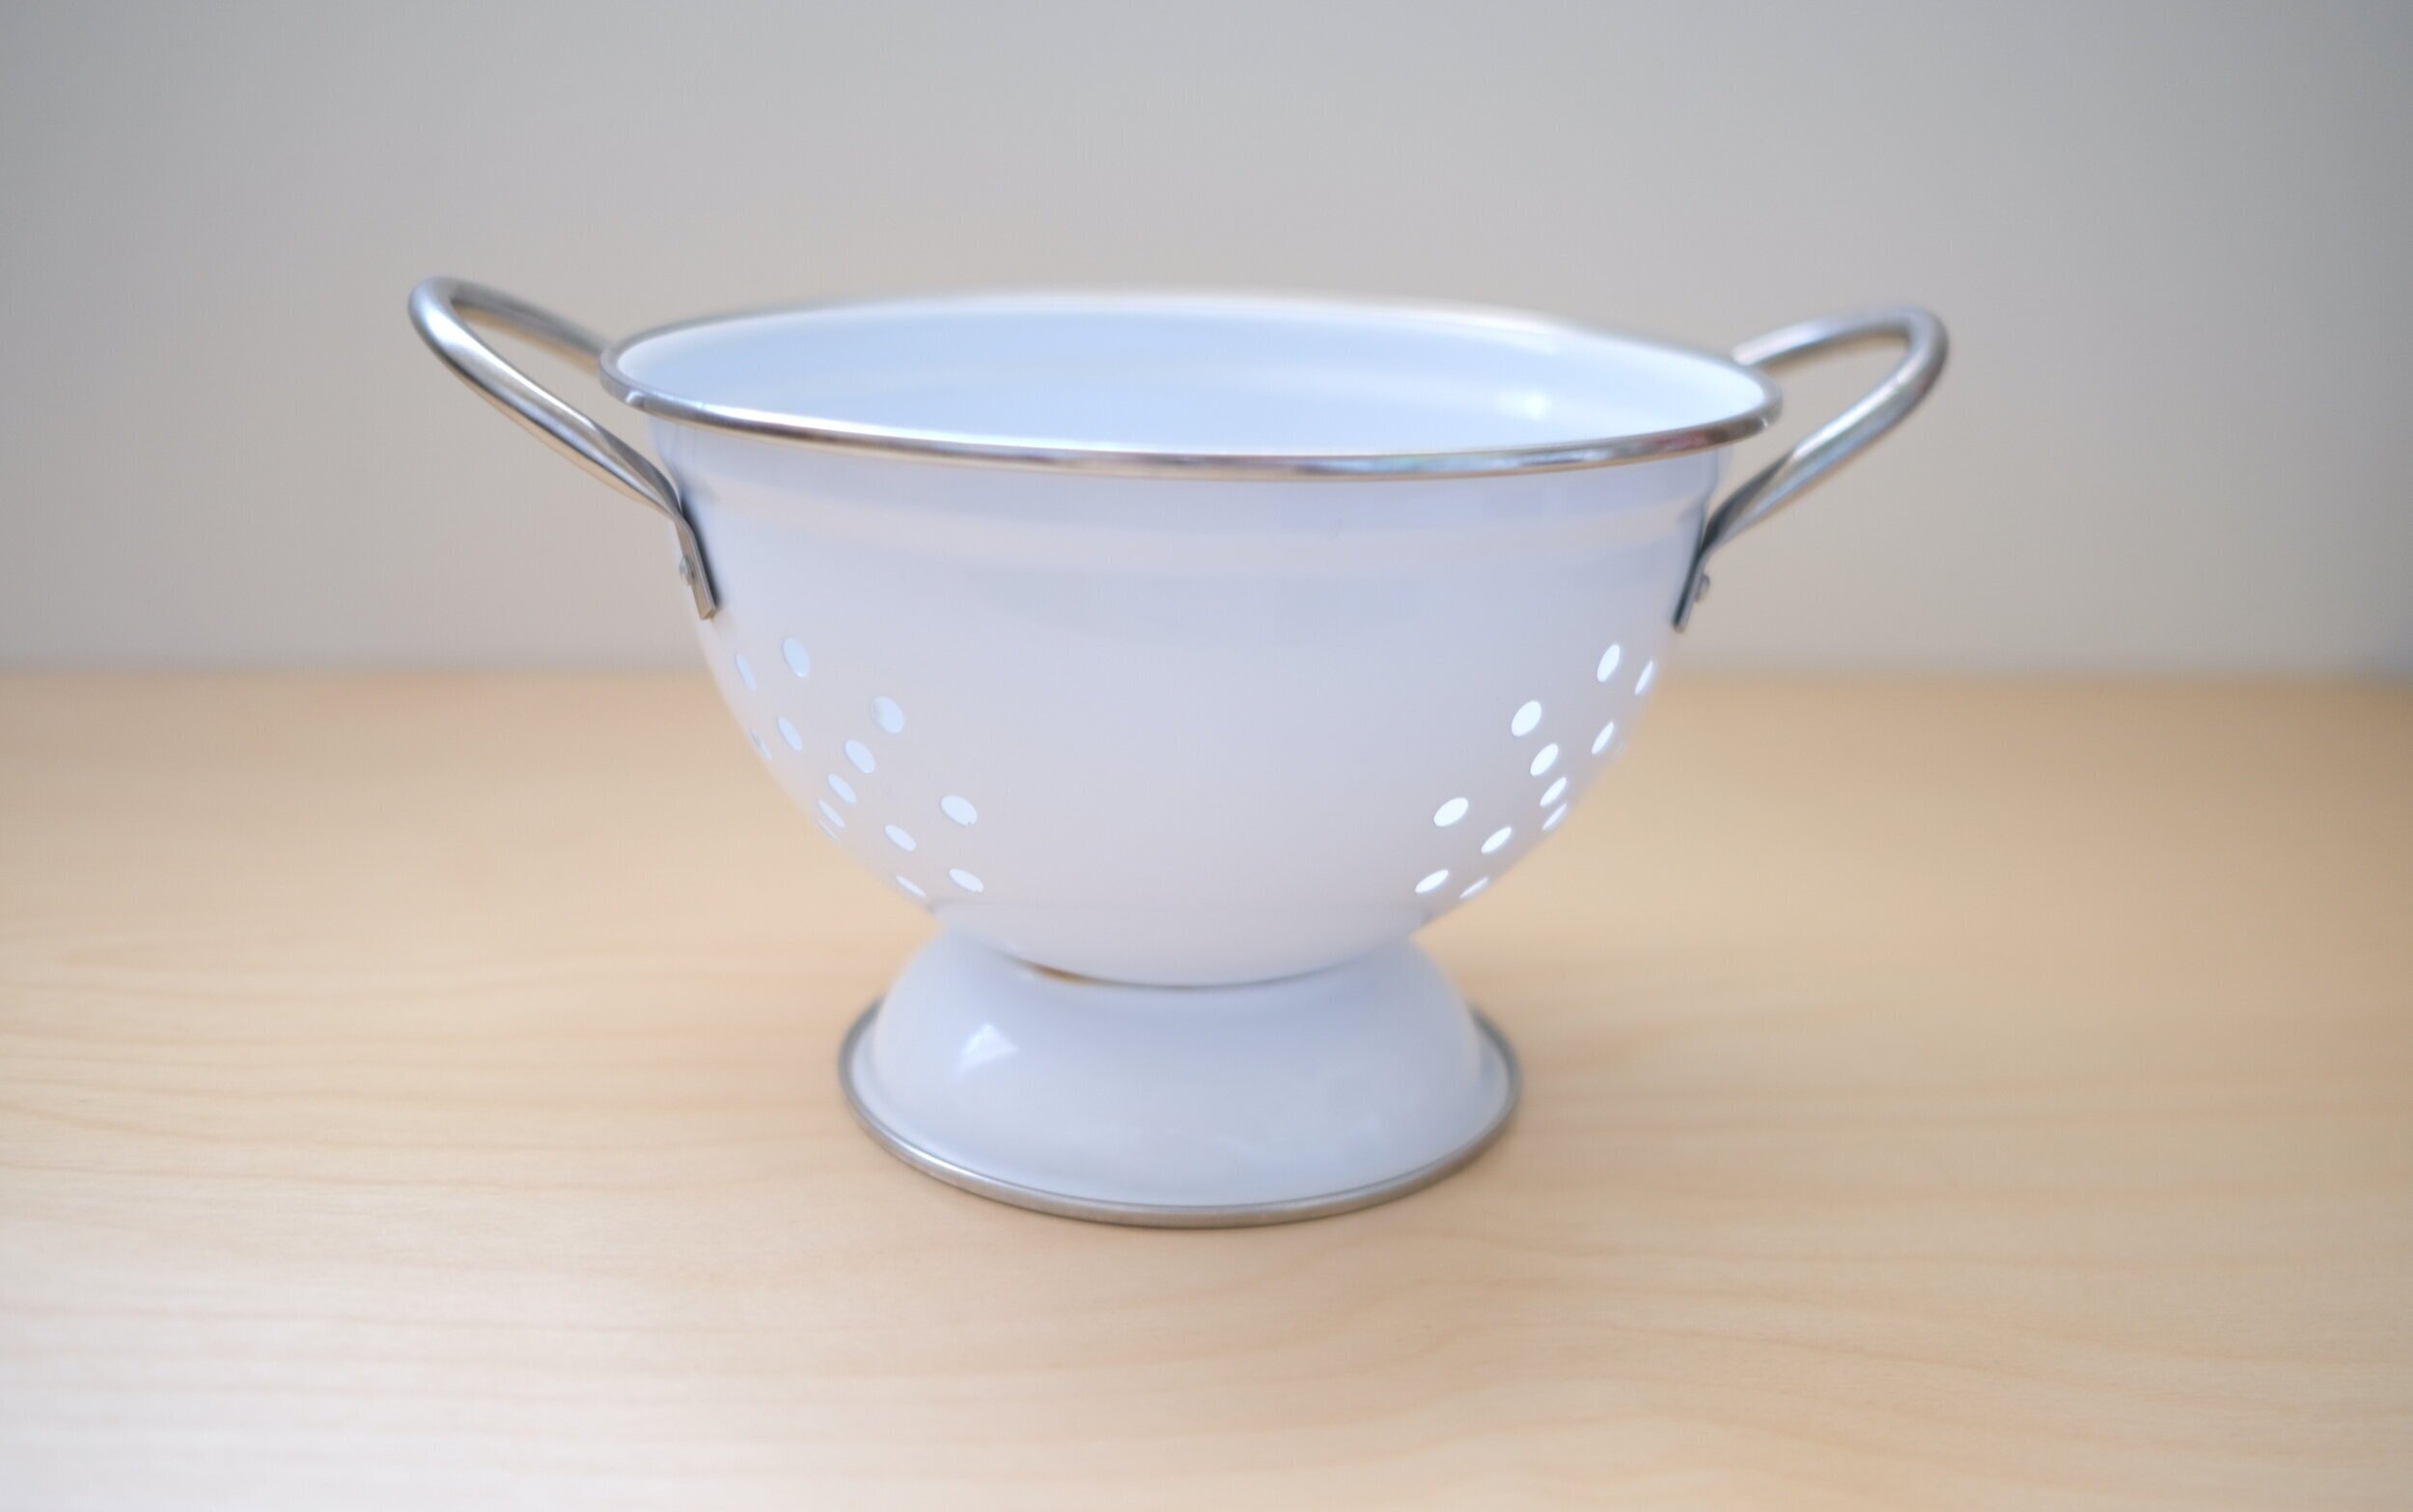
1. Colander
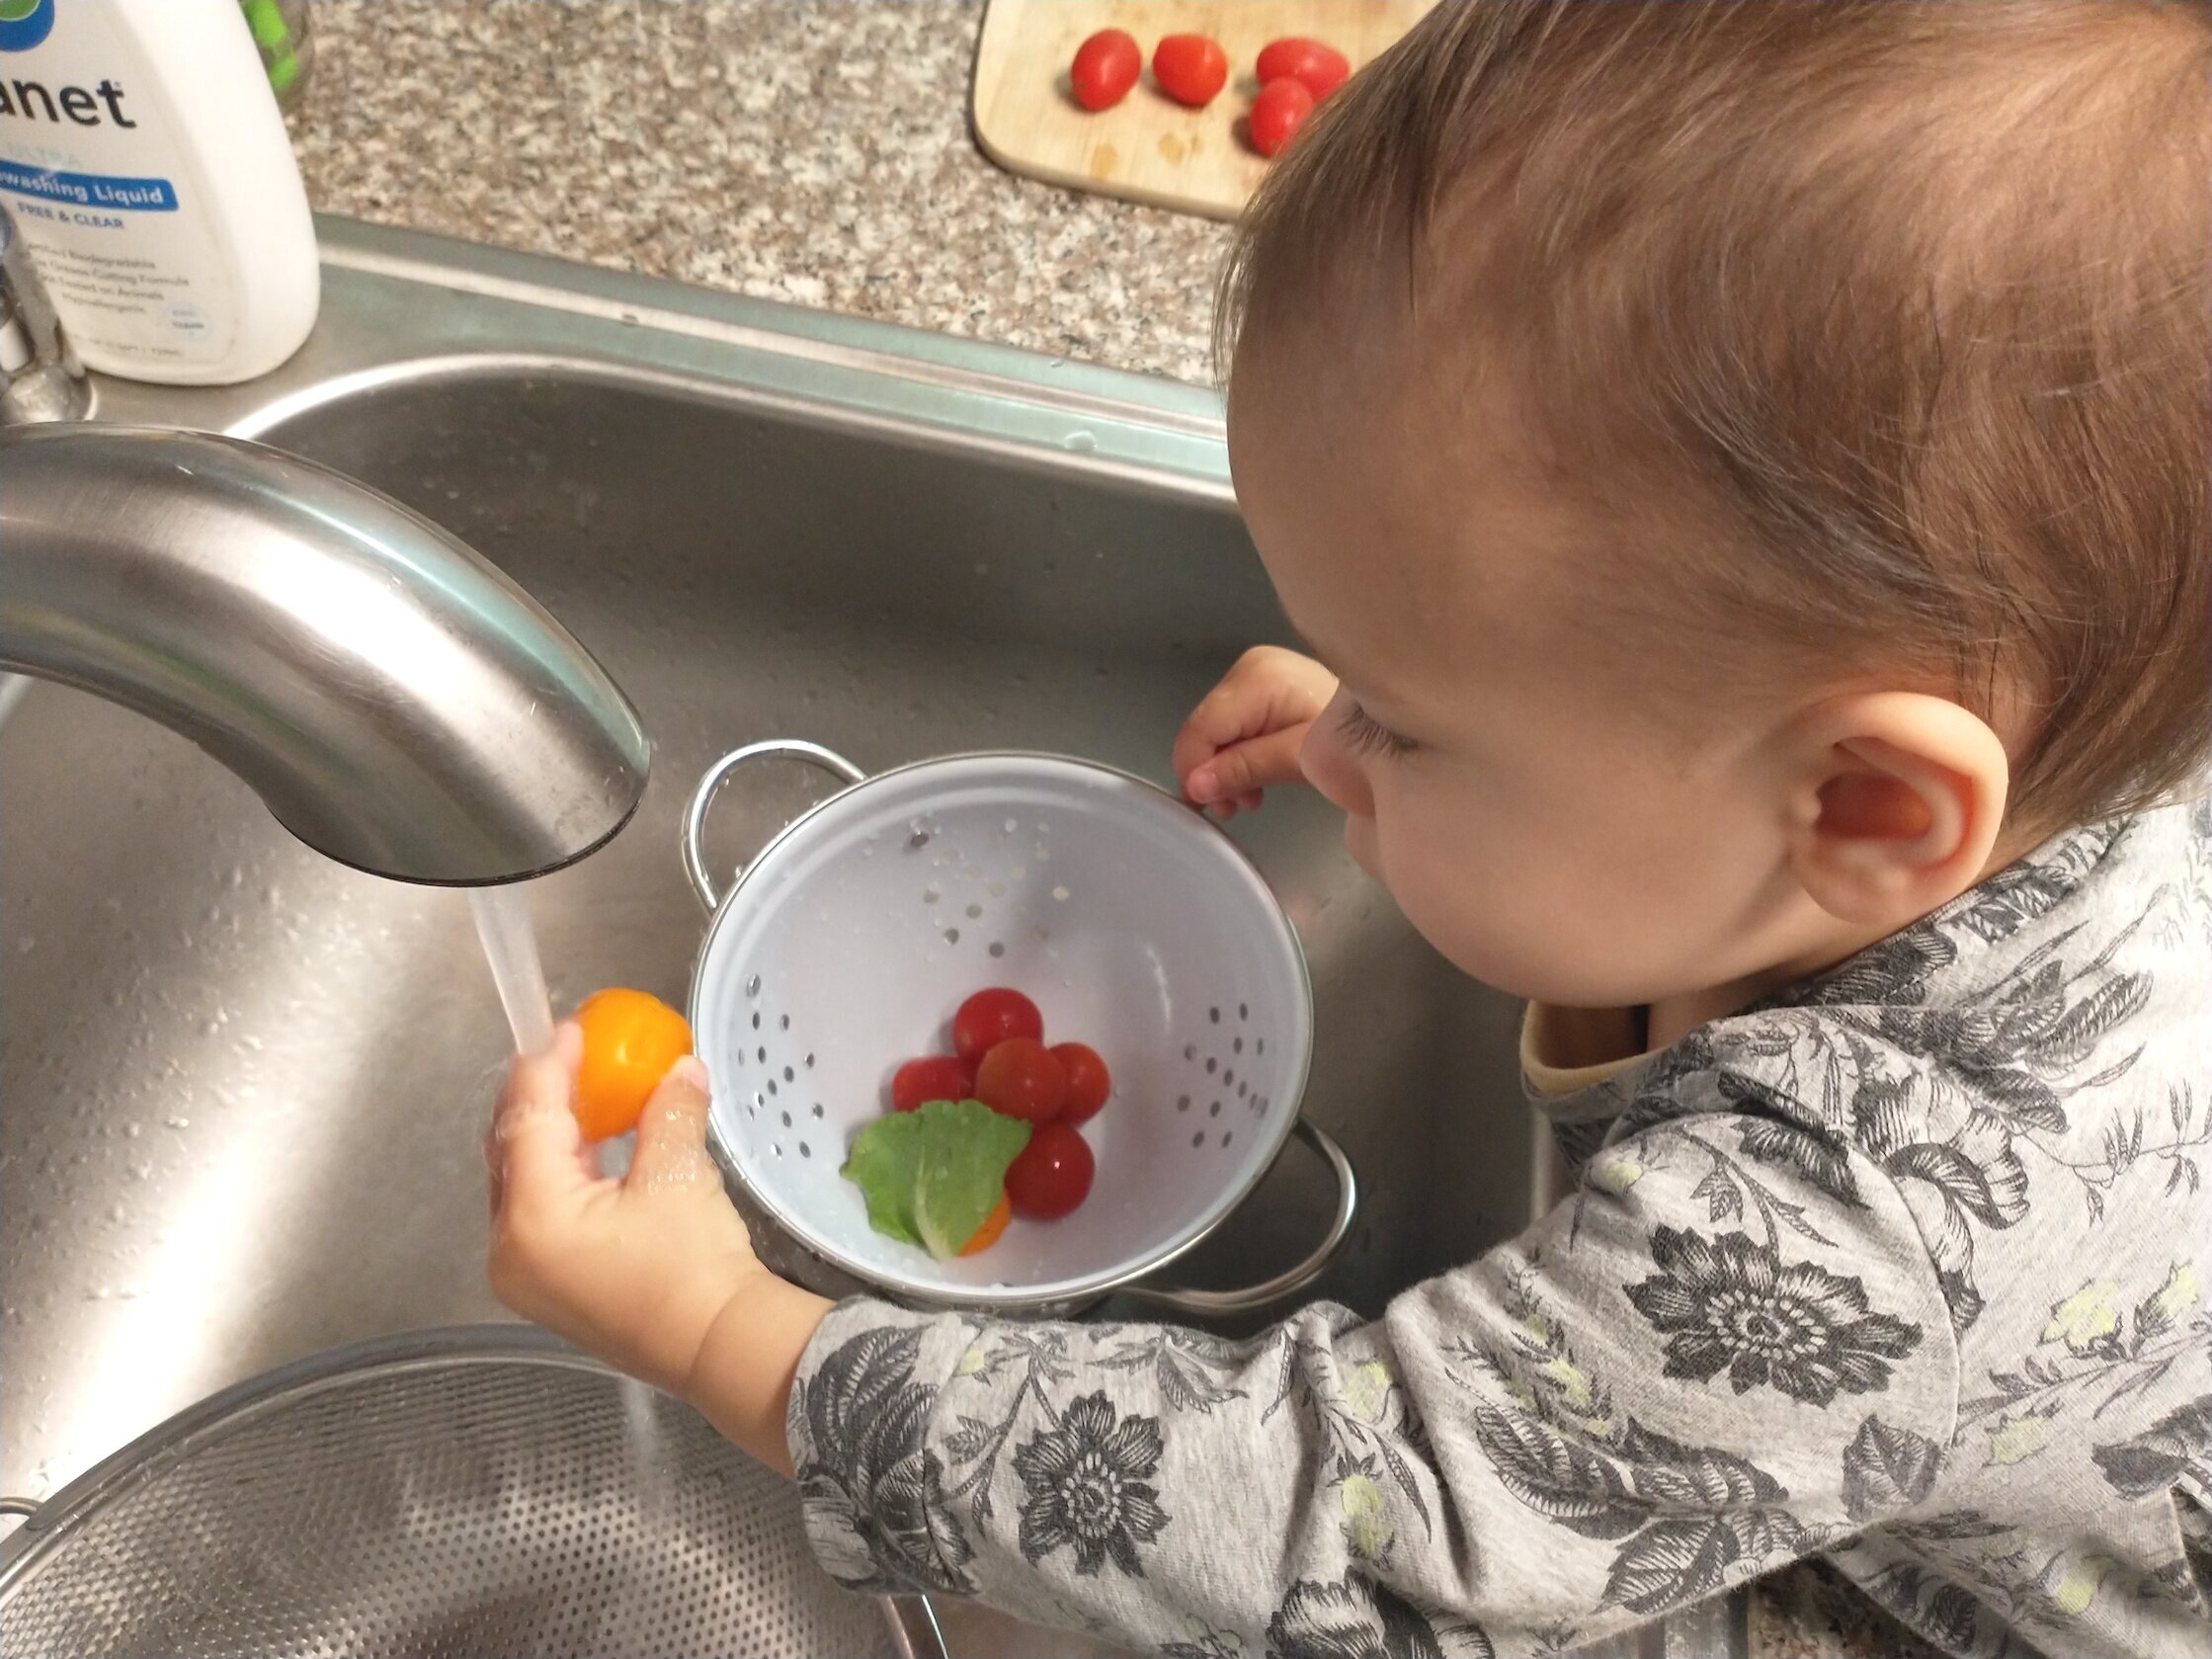
Washing produce is the best first activity for young toddlers. We started when Emma was 14 months old.
All you need is to place a colander into a sink and let them wash the fruits or vegetables you're using for cooking. In the beginning, we used a regular colander, and it worked fine. Later on, I found this small colander and gave it to Emma. I ended up enjoying the small colander better because it doesn't use up that much space in a sink. And it can be easily stored on Emma's shelf. We stuck to washing fruits and vegetables for several months before moving on. This slow approach allowed Emma to develop more coordination before trying something new.
2. Spreader
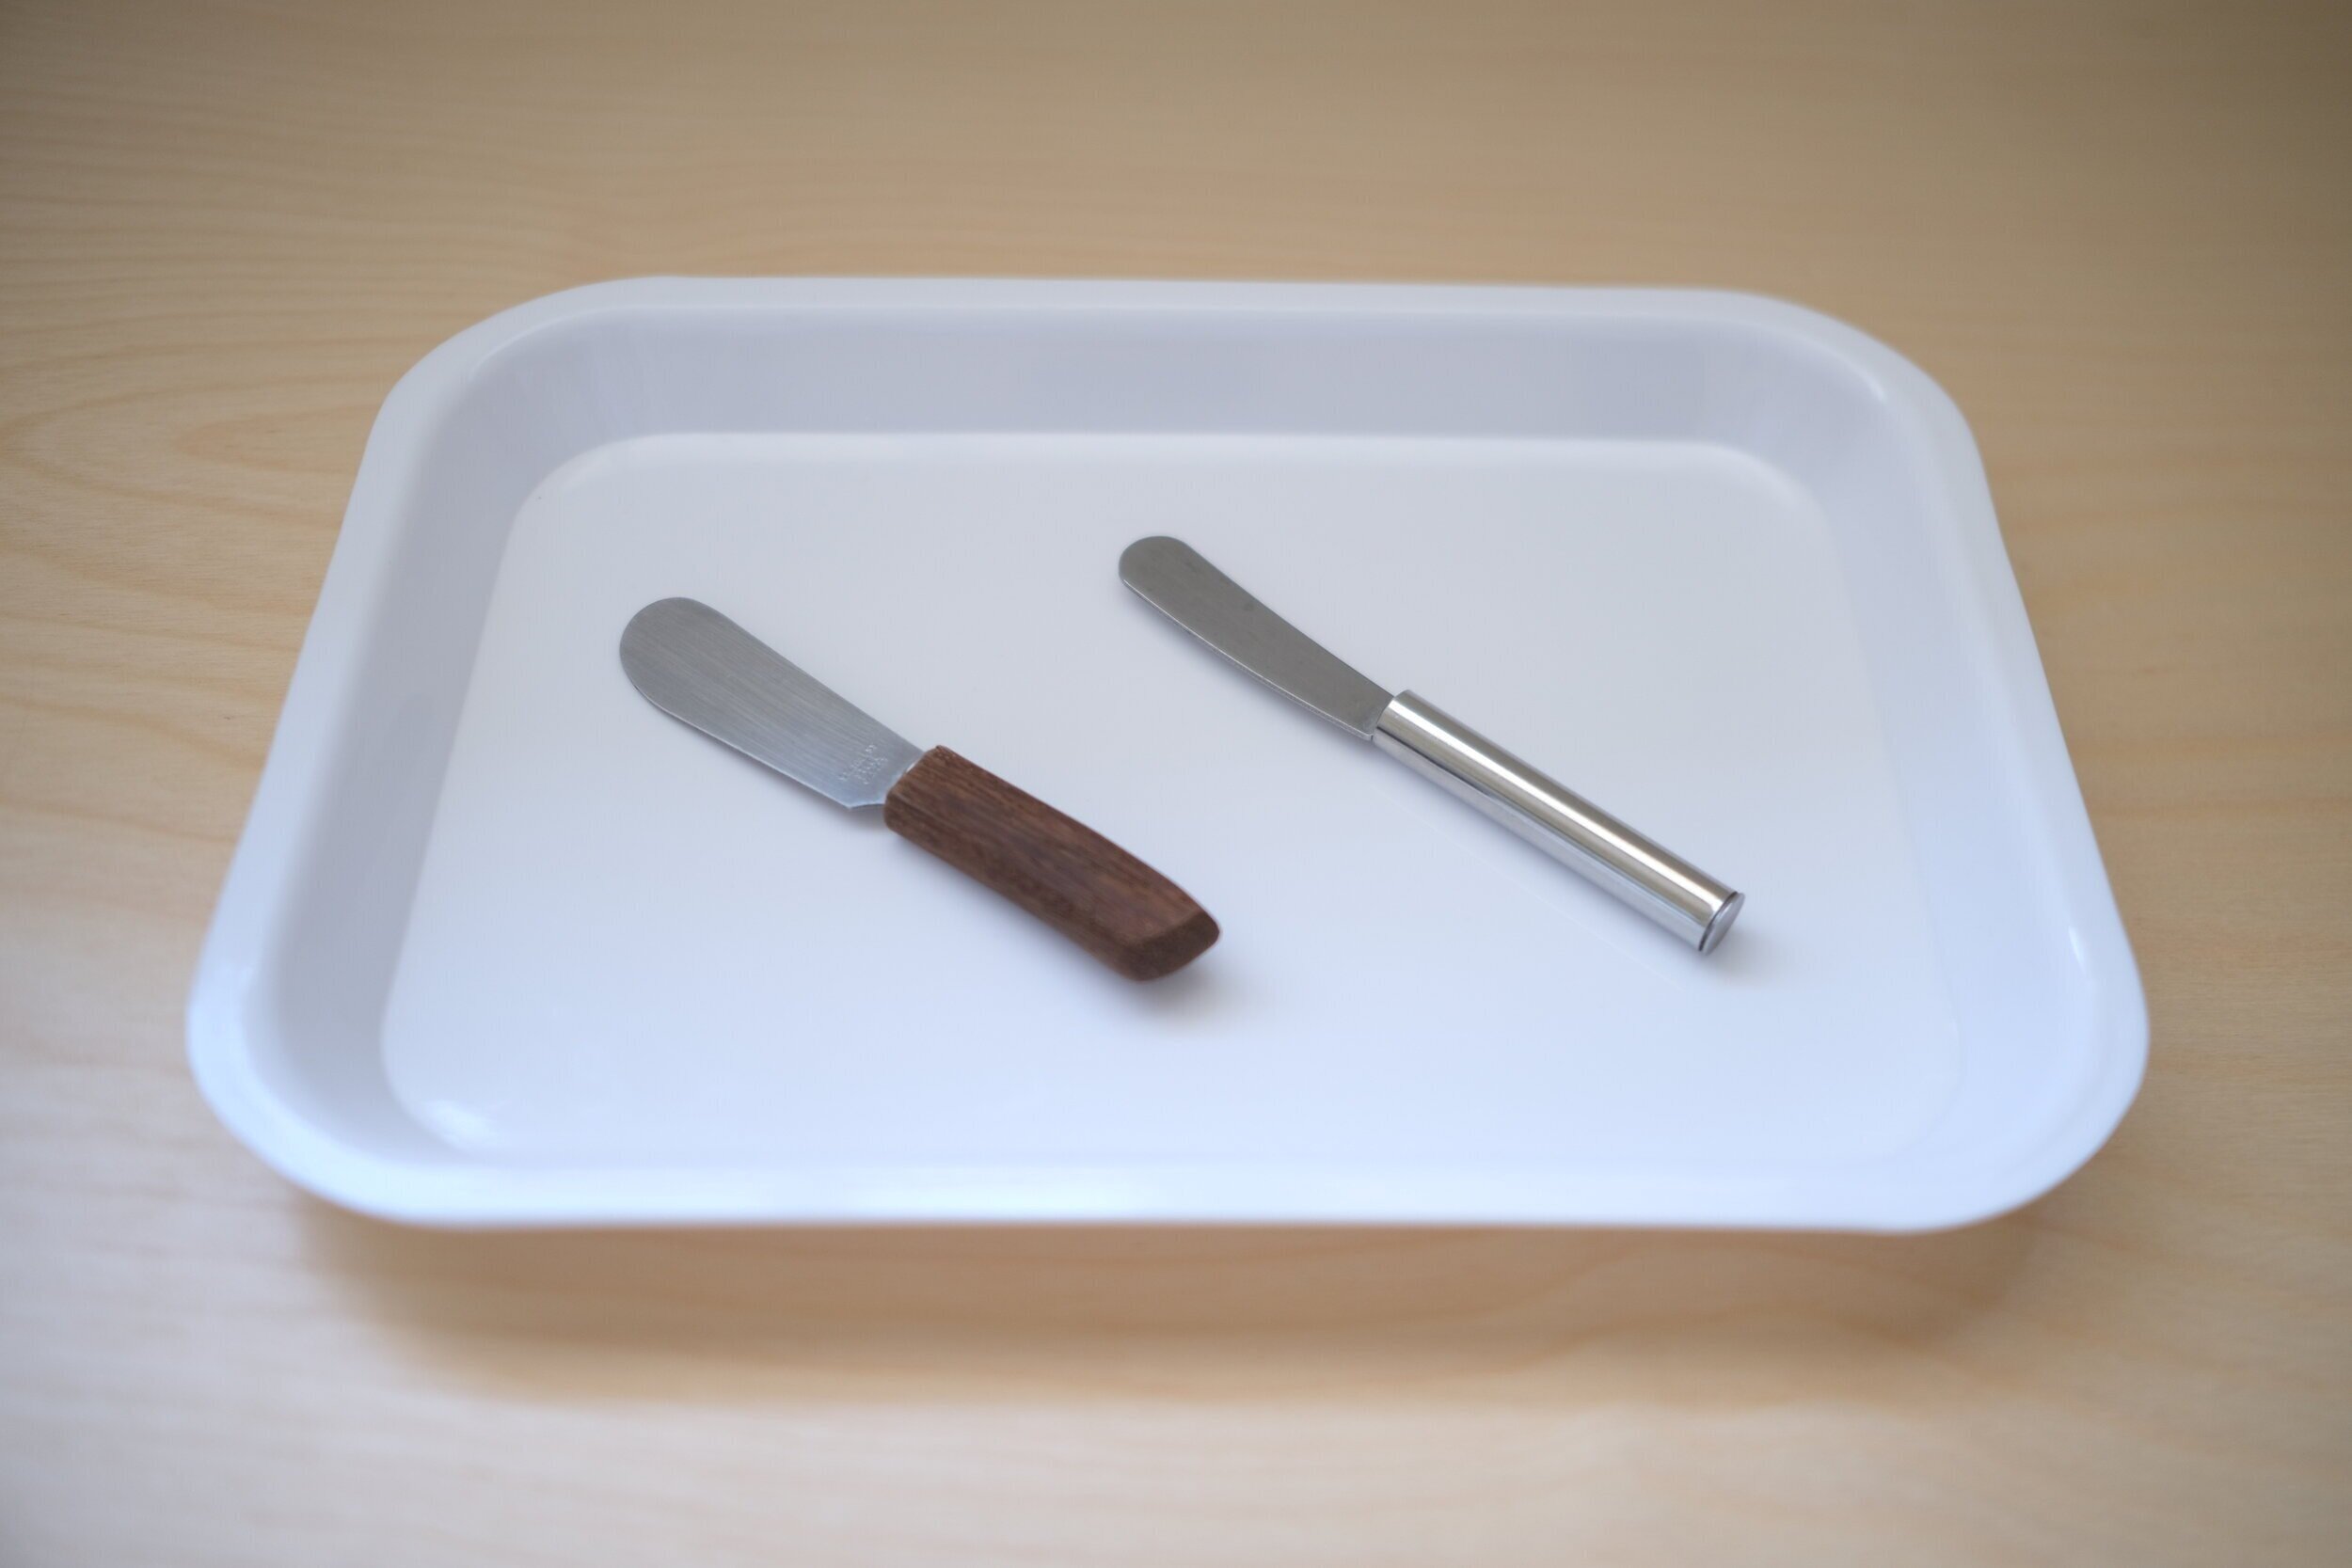
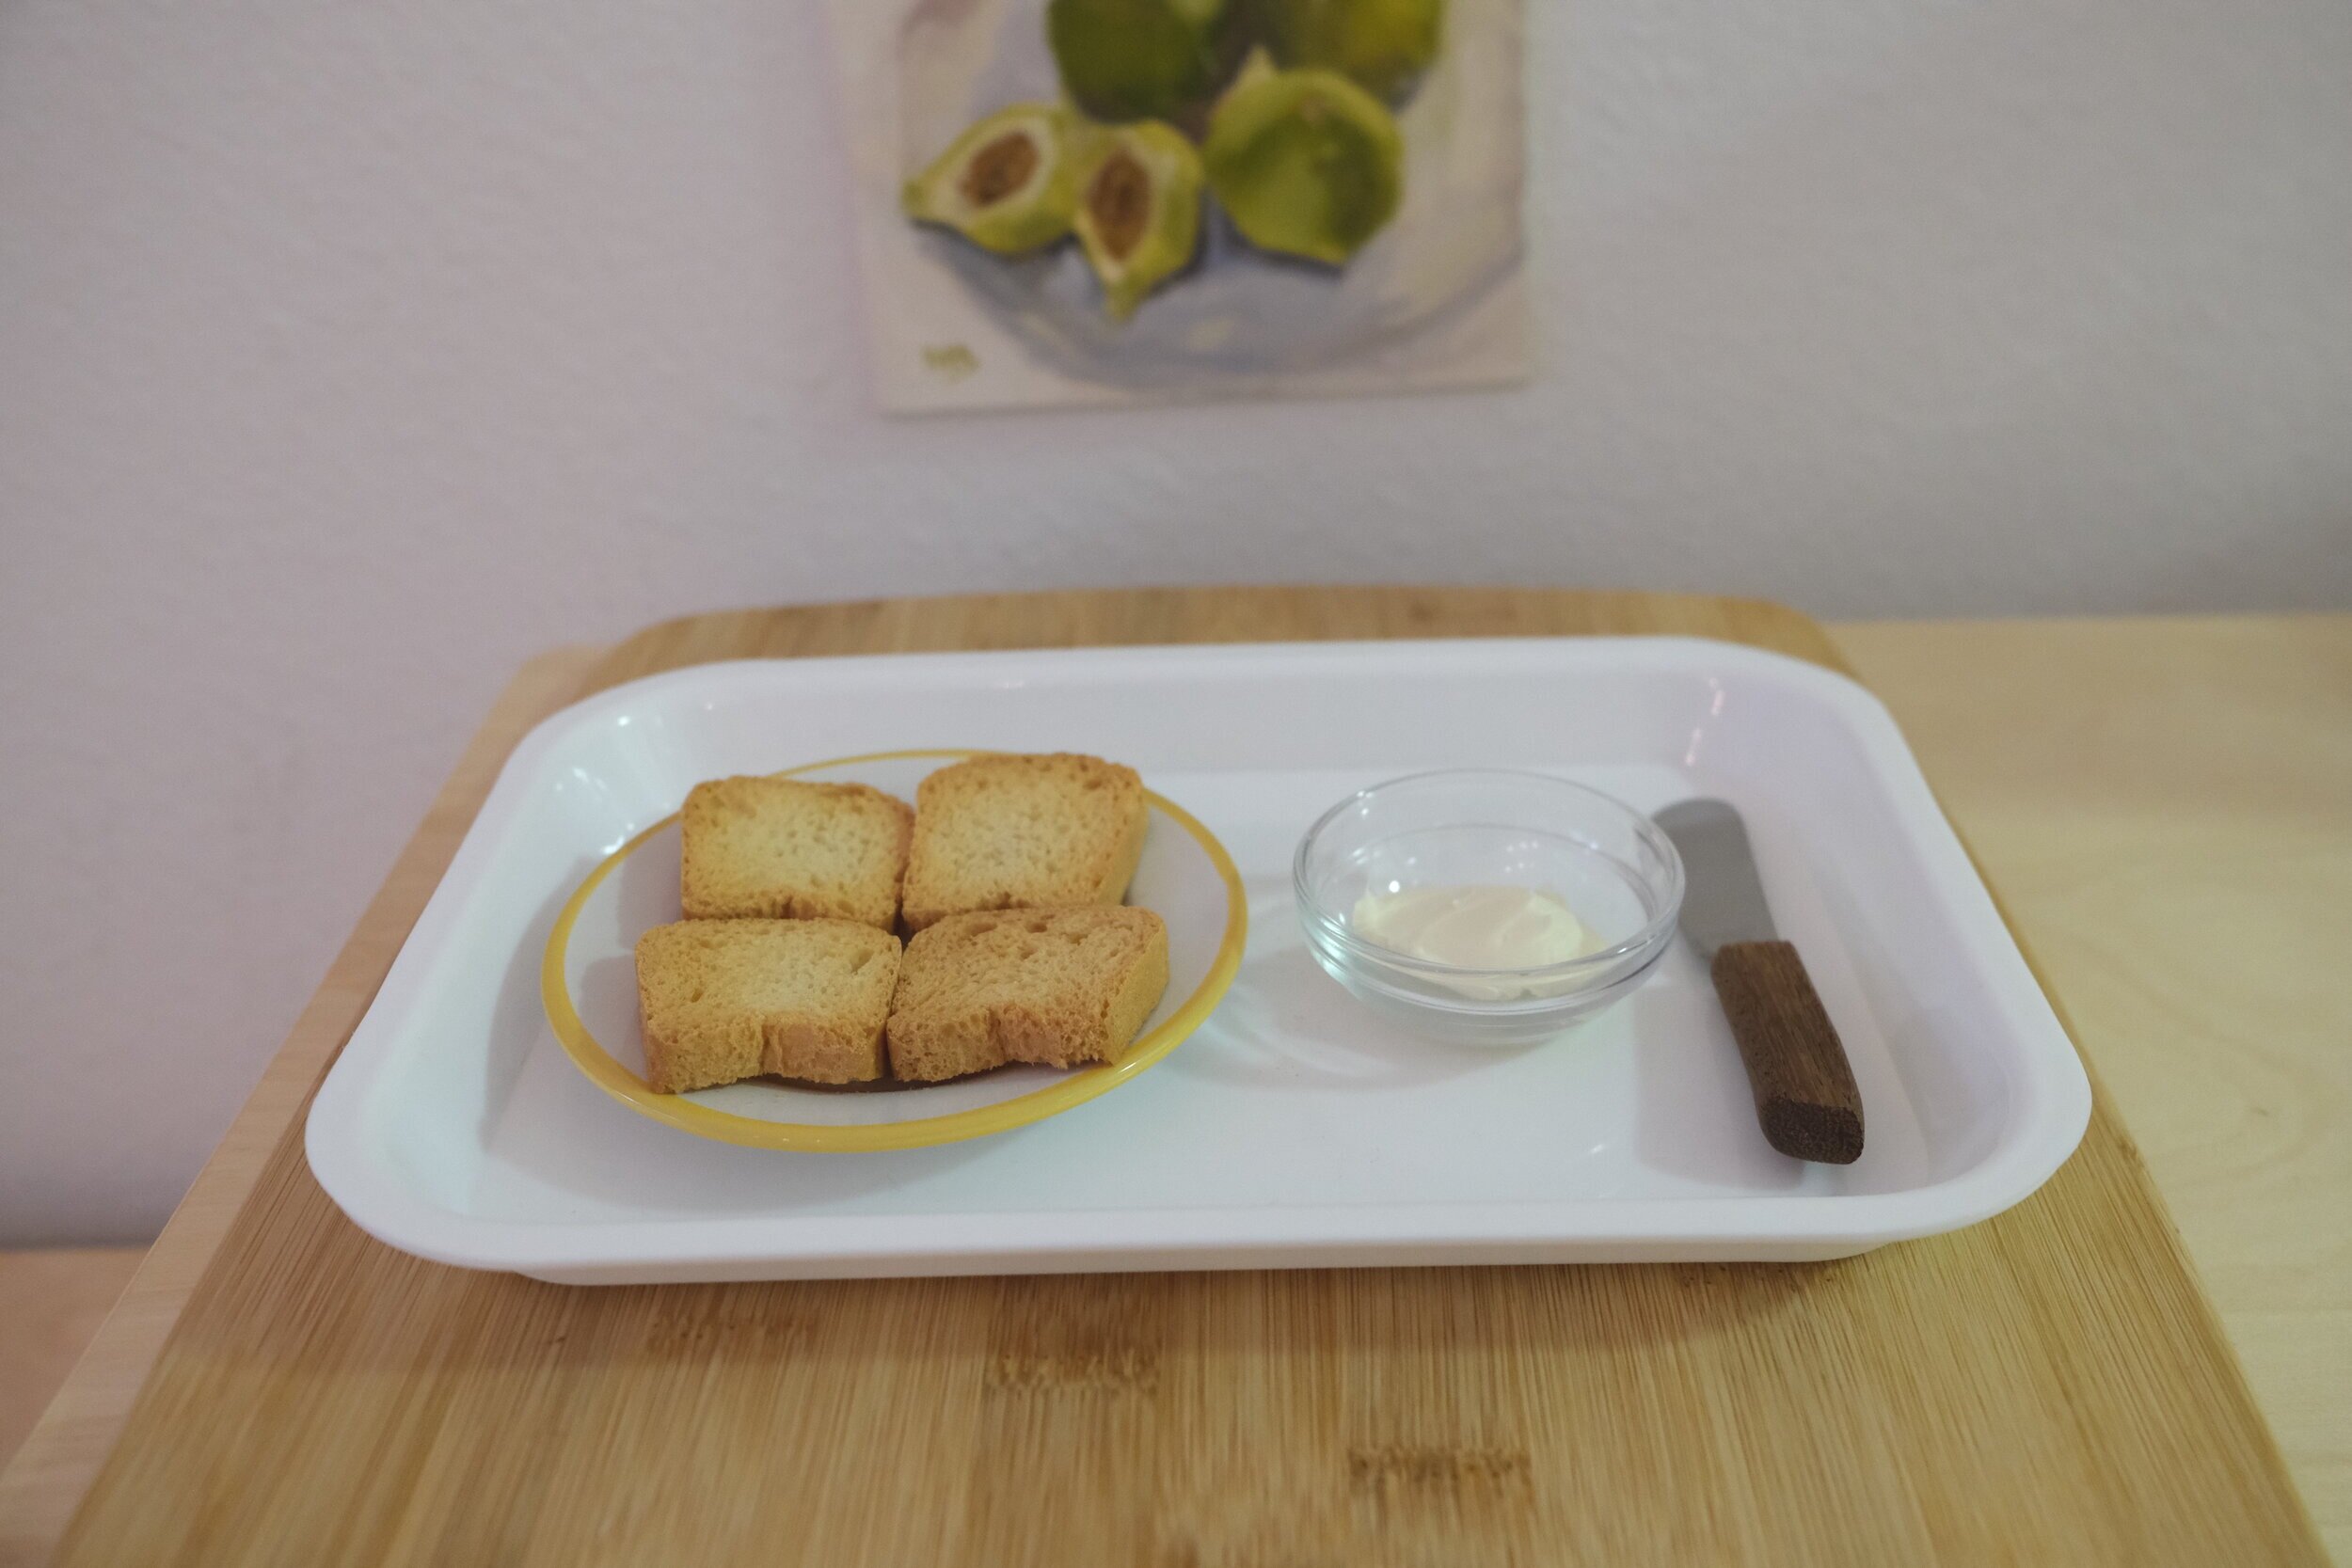
I introduced spreading to Emma at around 18 months. Back then, she also started attending her Montessori program. Part of their school routine is the preparation of their snacks using a spreader.
The spreader needs to be child-sized. We got this and this. Both work great. To set up this food prep activity, you need the spreader, bread or crackers, and something to spread. For example, cream cheese (whipped works the best) or hummus.
3. Wavy chopper
Do you want your child to learn to cut, but you're afraid of them getting hurt? A wavy chopper allows your toddler to practice chopping without losing their fingers. The wavy chopper is held by both hands which allows your toddler to use his body weight to chop things safely. With this tool, chopping is a breeze.
Soft things like a banana or an avocado are the best foods to chop at the beginning. Zucchini are also easy to chop with the chopper if you cut them lengthwise first. Later on, progress to cutting harder things such as sweet potatoes or carrots. I introduced this tool to Emma when she was around 19 months old. She was successfully ignoring it for several months. I kept modeling using it, and when she was 22 months, she joined me when I was making vegan chili for dinner. I cut zucchini lengthwise, and she chopped it like a pro using the chopper and asked for more. That moment was a great reminder for me that the little eyes are always watching.
4. Wooden Spoon (+ non-slip mixing bowl)
Would you like to do baking with your little one? A child-size wooden spoon and a non-slip mixing bowl are the tools your child needs to get started. You can include them in making your favorite muffin recipe or mixing some pancake batter.
Non-slip bowl like this one is something I highly recommend. I didn't have one at the beginning, so Emma used my large mixing bowl. As she was mixing, the bowl was spinning around on the kitchen counter. With the non-slip bowl, your child will be able to focus on mixing only rather than trying to keep the bowl in one place.
5. Masher
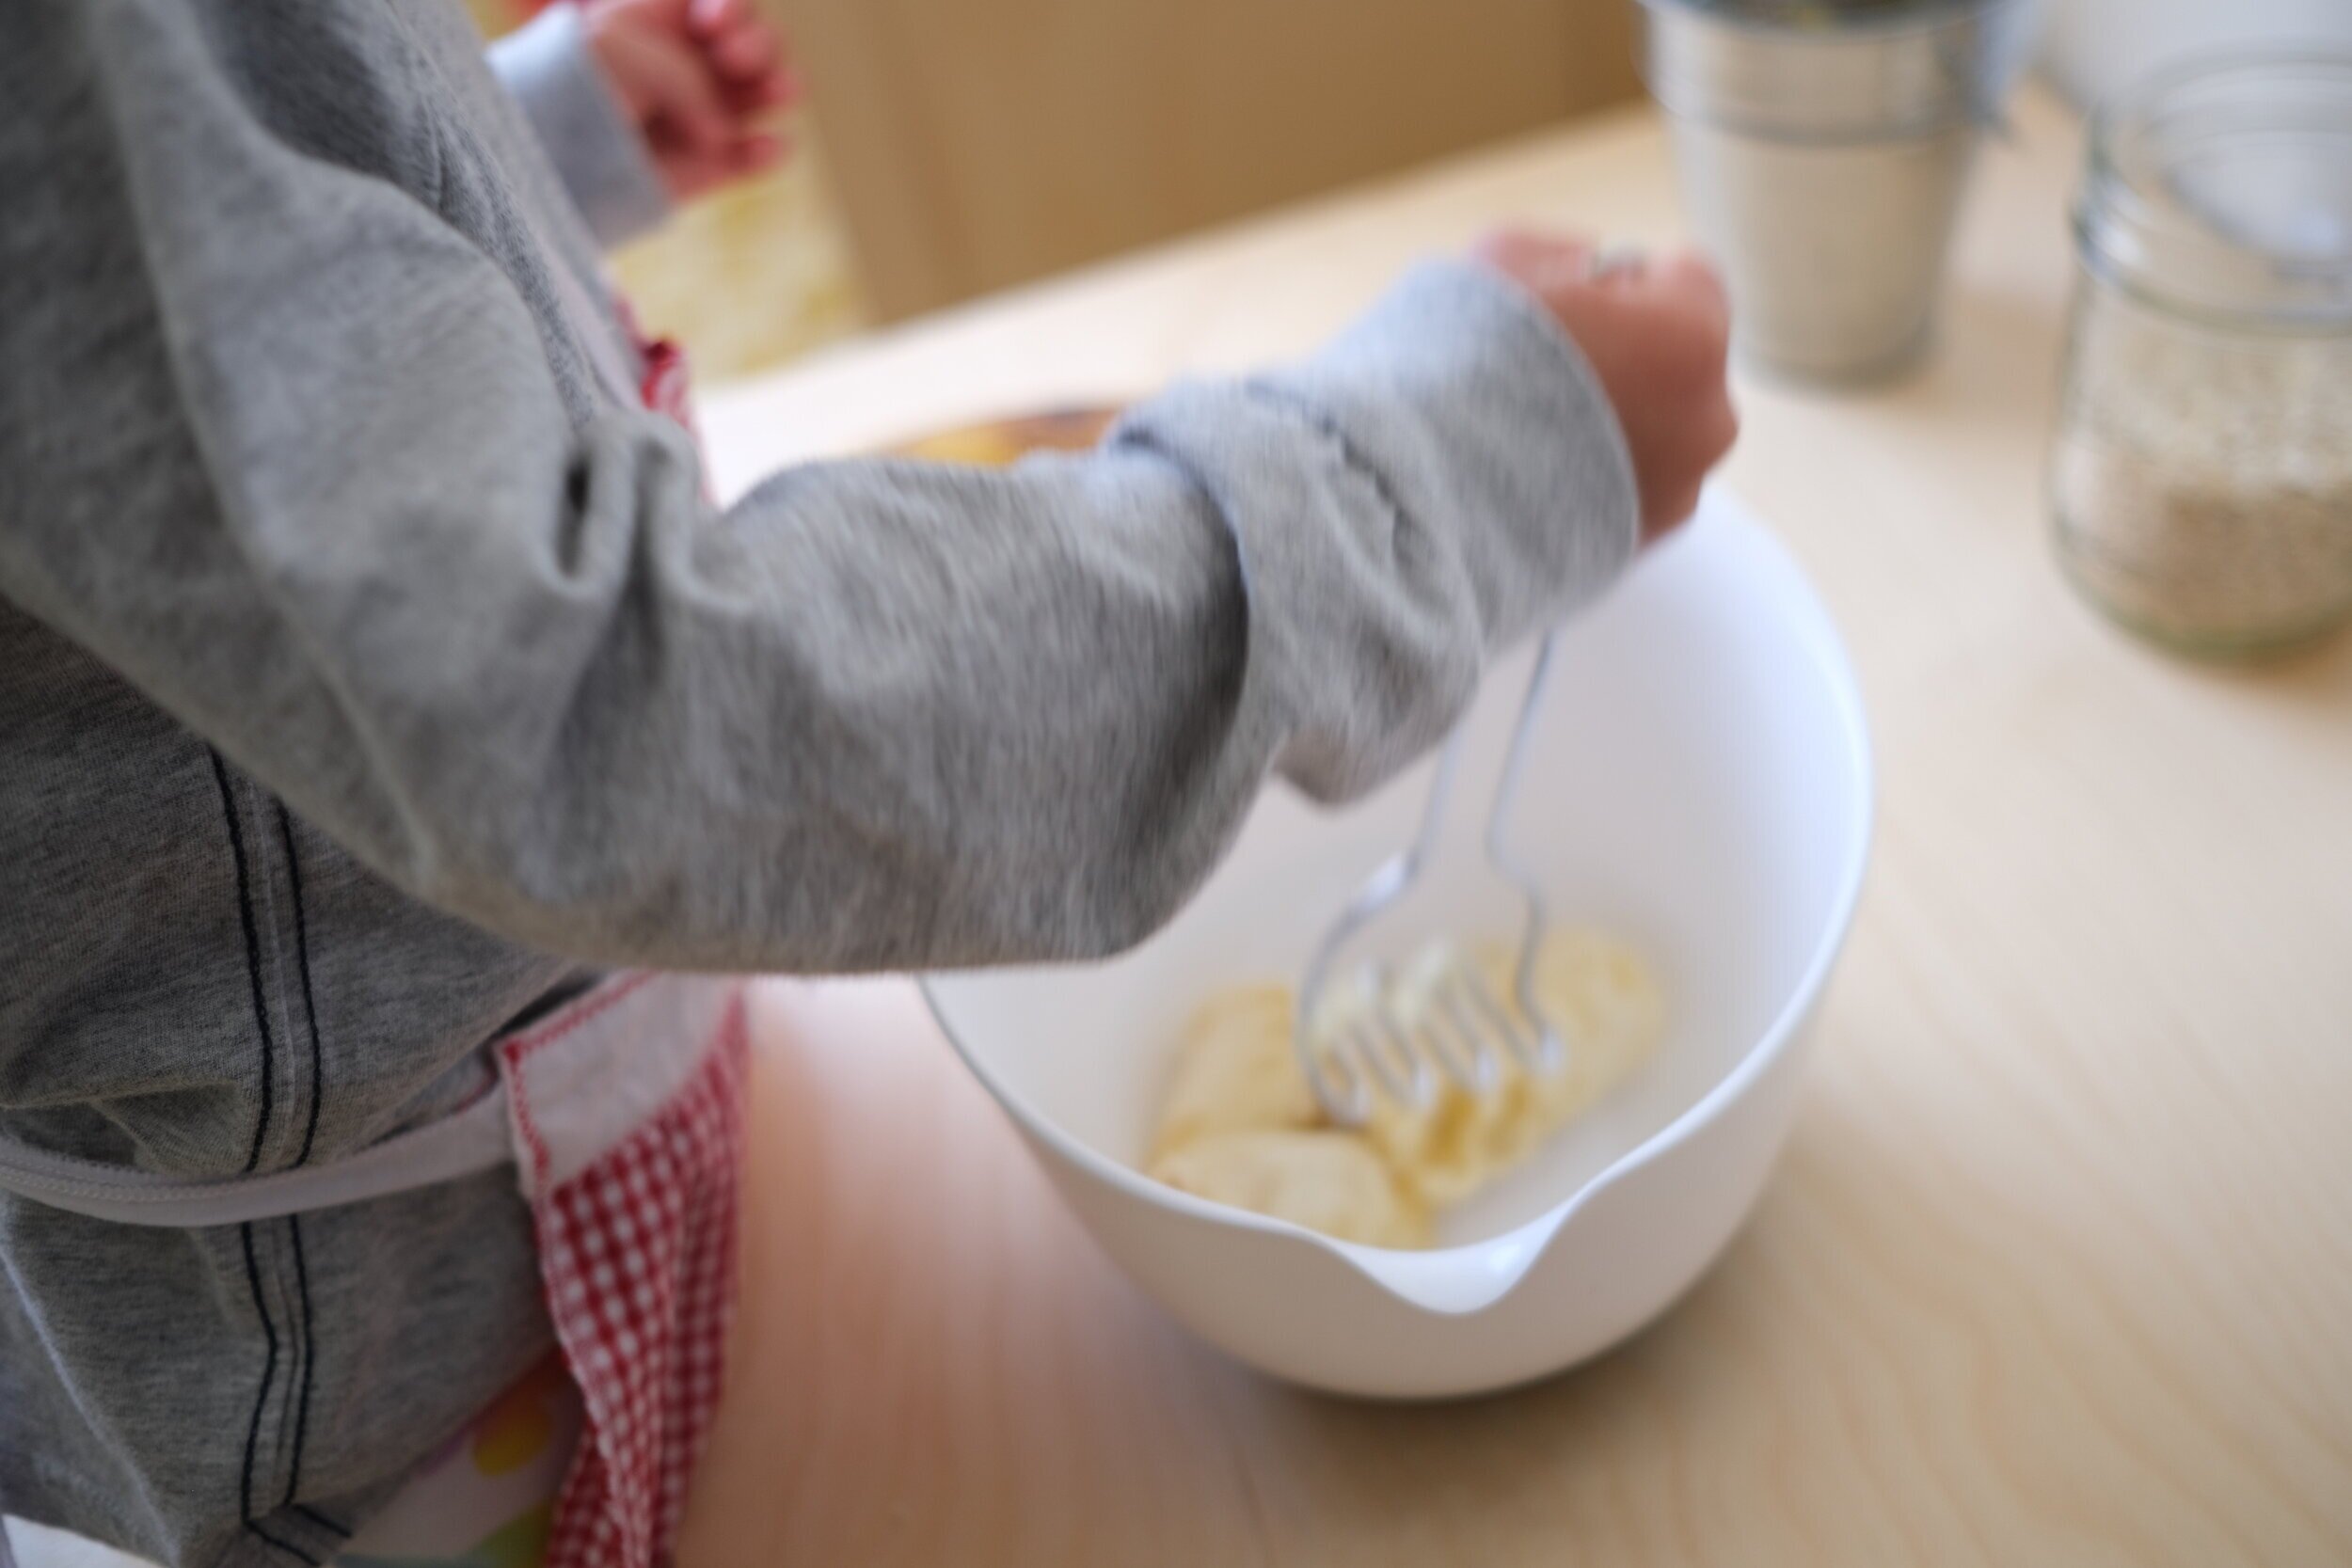
We started with mashing when Emma was around 2 years old. Mashing is quite challenging for little toddler hands. A child-sized masher is a must. Start with mashing a very ripe banana. Your child can peel the banana and place the peel in the compost. Then use only half a banana to mash. Once mashed, add the other half. Are you looking for an easy recipe to practice mashing and mixing? These chocolate chip oat balls are a hit in our home.
What are your child's favorite kitchen tools? Please share them with me in the comments.
You could also enjoy:

